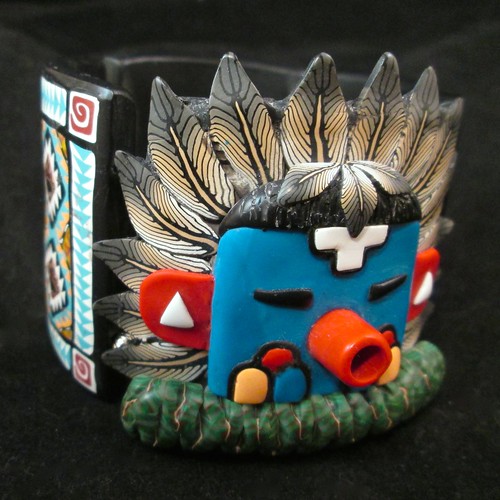
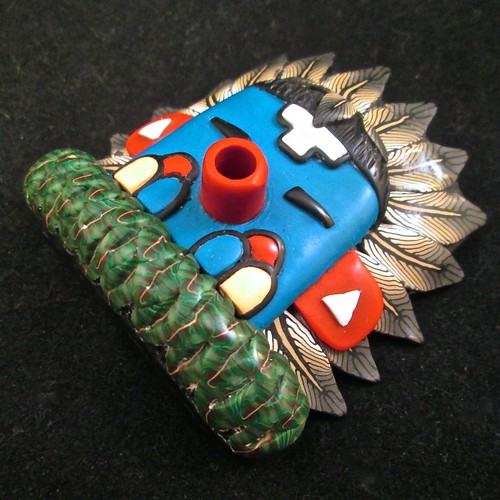
 The Morning Singer Kachina or Talavai wake the Hopi people by singing in pairs from the rooftops. During the day, they prompt the other kachinas and lead them in song. They have a small spruce tree in one hand and a bell in the other.
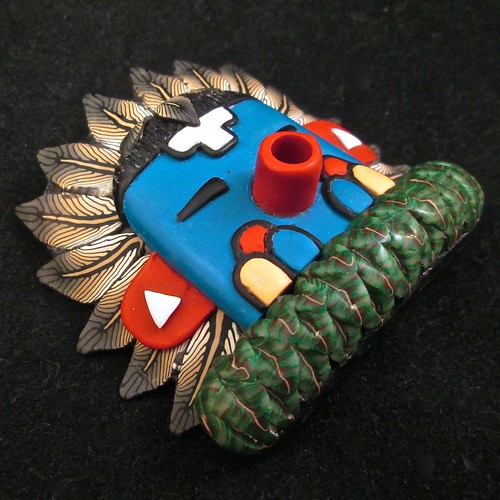
This is another of my favorites! I love the colors and the dimension that I achieved from the design. I started by building up the feather headdress on my lined, cured and sanded 2" bracelet tile. I used feathers from my original Sunface Kachina, but in the future will design feather canes specific to each Kachina. I filled in the center of the headdress and cured it along with a short ring of red clay around a crochet hook for the nose/mouth. In the meantime, I cut out the head shape from a sheet of scrap clay and covered in with turquoise clay. I then added the black hair on top and textured it. The rest of the elements I wanted to add after curing the nose/mouth, so I proceeded to created the green color by placing thin layers of left over palm tree fronds around a tube of scrap clay.
After the headdress base was cured and sanded, I attached the face and red ears to it with the help of some Kato polypaste. I carefully inserted the nose/mouth with a bit of Kato polypaste as well and then added the eyes, the white reversed step on the forehead, and the colored oval shapes on the cheeks. For final touches I lined the reversed step and ovals with a thin string of extruded black clay, added a white triangle to the ears, smaller feathers to the hair, and then attached the collar with the help of more Kato polypaste. Time for a final cure, sanding, buffing and tah dah!!!!

| 
|
 | |

No comments:
Post a Comment