
 Merry Christmas Everyone!! In this time that we celebrate our family and friends, here is a little gift to all of you from me. =)
I've read all sorts of posts and tutorials on the net about how to make bangle forms for use with clay, and have come up with my own system that I will share with you today. Hopefully this will be as easy and straight forward for you as it is for me. It's my first step in creating any bangle - including my Flamingo Paradise Bangle - which is the subject of my upcoming blog posts.
Here it goes! You'll need:
scrap clay
an empty soda can
pasta machine
sharp blade
1) Condition and blend your scrap clay into an even mixture. Run it through your pasta machine on the largest setting and cut off a length to wrap around an empty soda can. You can make it any width you want - for mine I made it 3" to give me extra room to make my scene, but the photos show the technique using a 1" wide bangle. Cut the ends at an angle so they overlap - this will give this joint more strength than if you use a blunt cut. Blend the seam well and bake for 25 minutes at 275 degrees. Cool in an ice bath and remove from the can. Sometimes you may have to press the can in a bit to loosen your form. (You can see the dings in my can from doing just that - time for a new can!)


2) Make a long log of clay 1/3 of the width of your bracelet. For example, if you're making a 1 1/2" bangle, make a 1/2 log of clay. Wrap this long around the center of your bangle, cutting the ends at an angle and blending the seams. Flatten this log with your fingers to get it adhered to the clay well. If you have difficulty with this, rubbing some liquid clay on the baked form or Kato Poly Paste will help, but use as little as possible to keep the clay from sliding all over. Once you have the clay pressed and adhered to the middle of your form, roll it on a flat surface evenly and gently to spread the clay out.
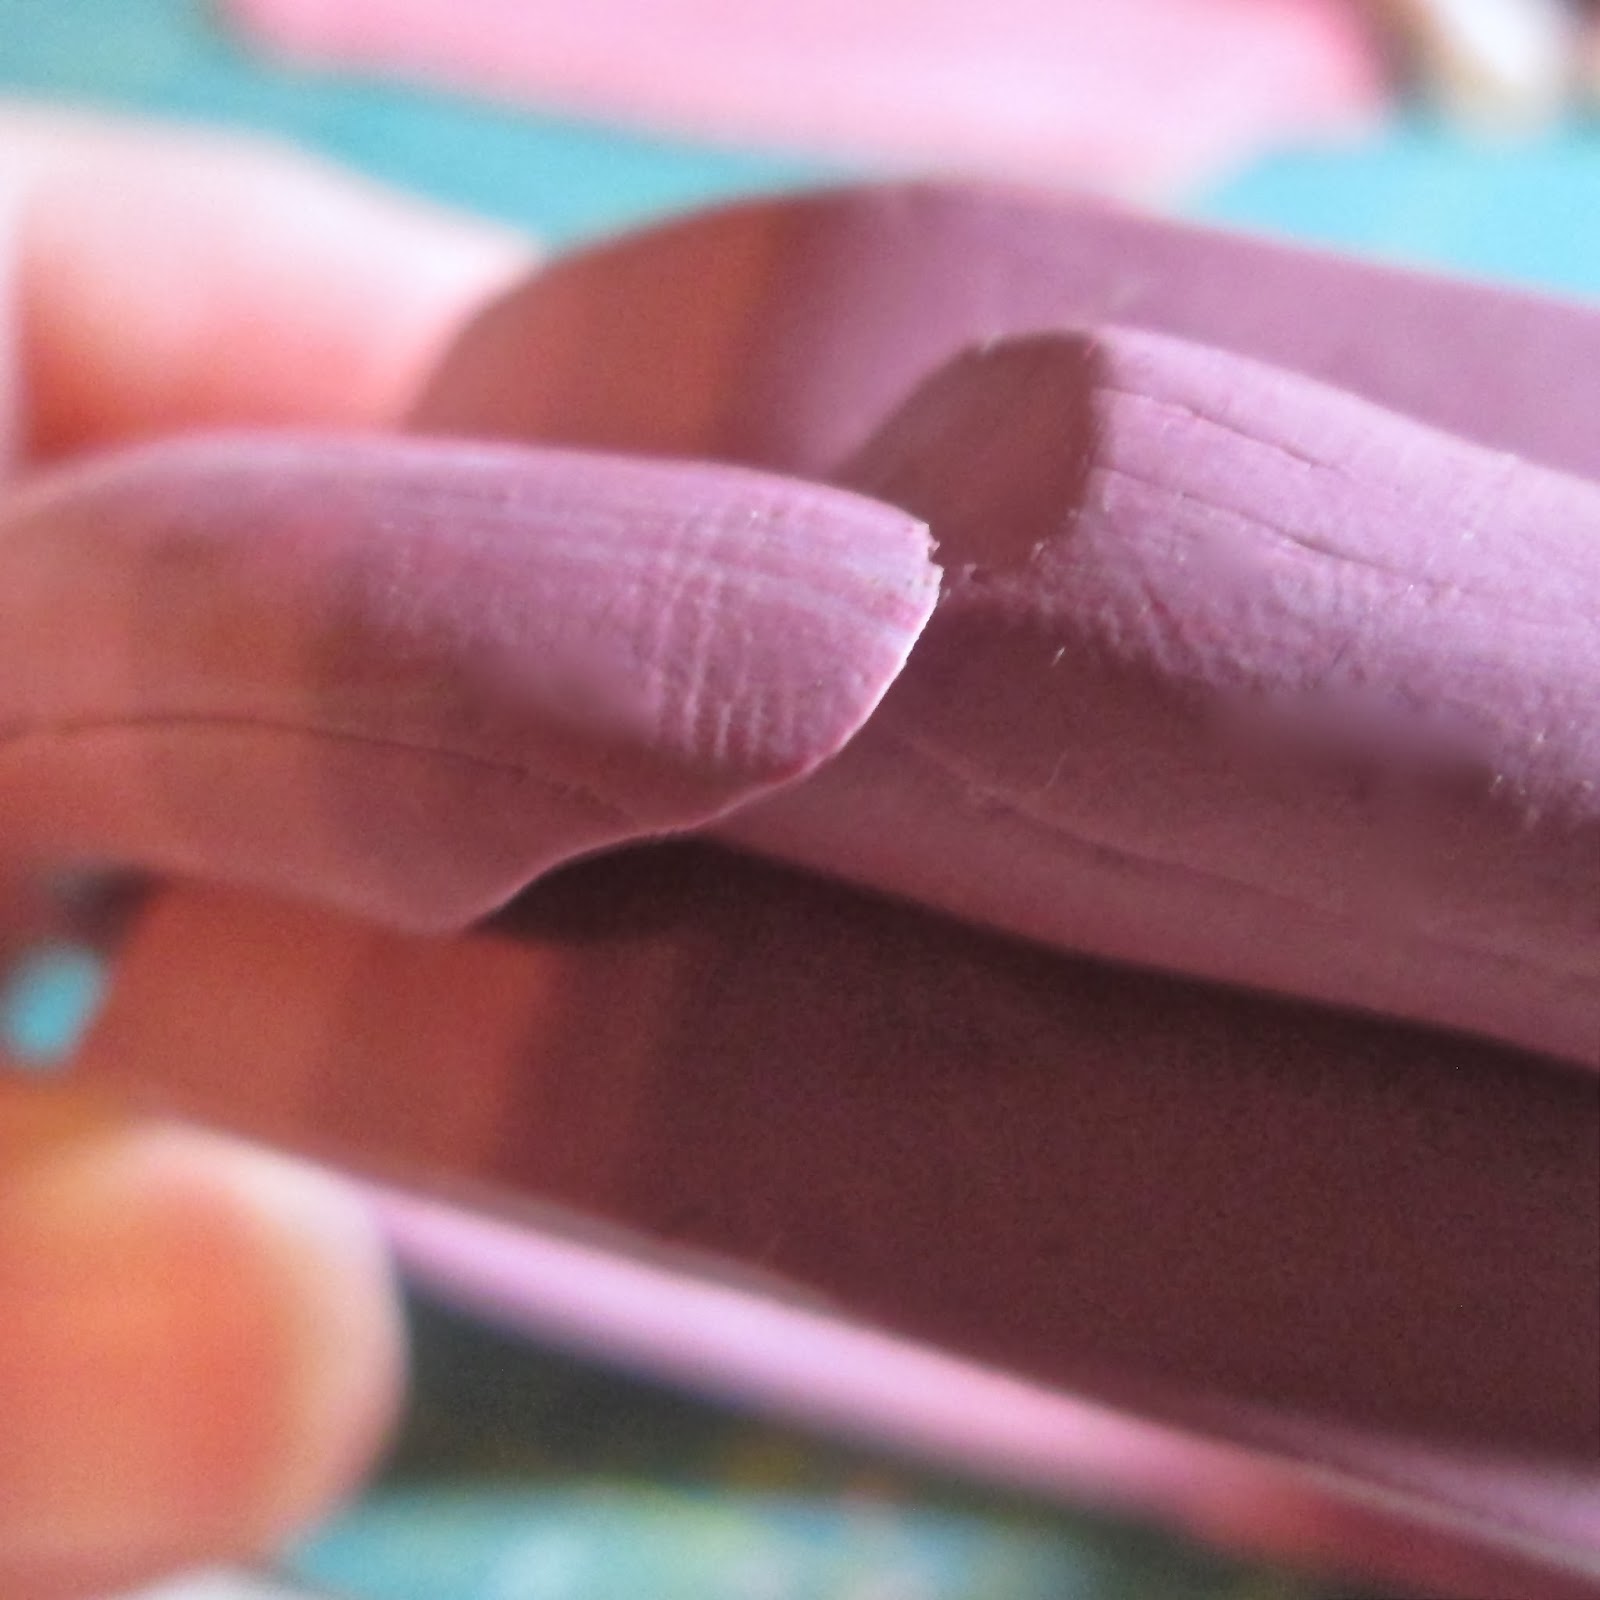


3) Use your fingers to start tapering the edges of the clay log towards the edge of the bracelet form. Roll the form at an angle from the edge to the center on both ends to smooth the taper. Repeat rolling from the center, tapering by hand, and rolling on the edge until you get a smooth evenly tapered bangle form. Bake another 25 minutes at 275 degrees - increase the time if you do an extra large bangle that is over 1/4" at the center.


That's it! Now you're ready to add cane slices, clay veneers or whatever you want to create your own design. Most of the time, I add slices directly to my form, but if the canes are older or the clay is stiff, I'll coat the form first with liquid clay or Kato Poly Paste.
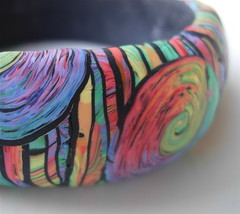
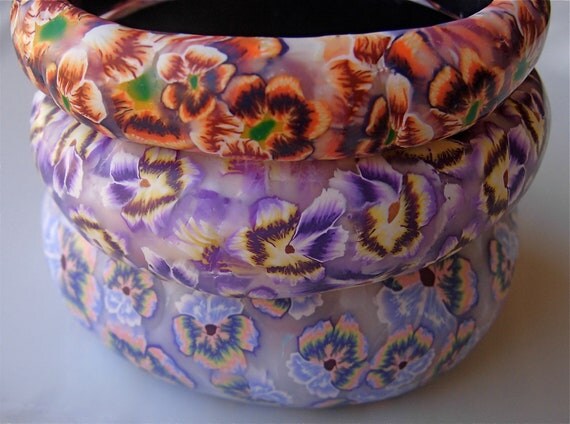
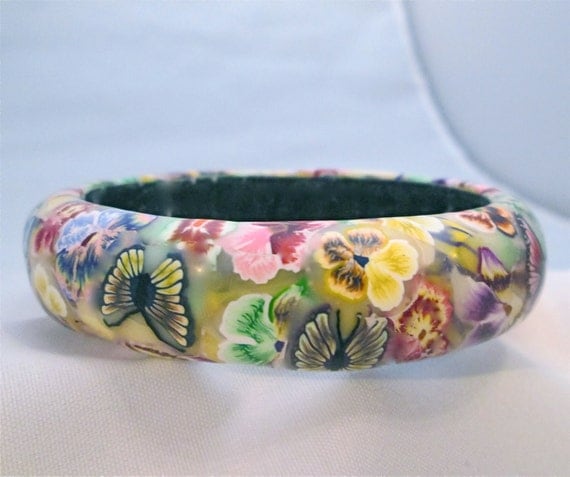
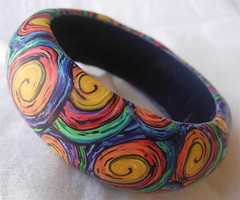
Here are a few bangles I've made using these very handy forms made from scrap clay.
In the beginning, you say the initial form size doesn't matter. In the end however, the bangle ends up being the size (width) of the original form. I'm confused about that.Would you mind explaining? Thank you.
ReplyDeleteErin
If you want a 1" wide bangle, start with a 1" wide strip of clay - which you'll wrap a 1/3" log around to form the completed 1" bangle. If you want a 1 1/2" bangle, you start with a 1 1/2" wide strip of clay and wrap a 1/2" log around for a completed bangle. The 1/3 ratio stays the same no matter what width you choose to make, so the size you choose doesn't matter to the tutorial. It works for any width - just use a log of clay that is 1/3 as wide as the width of the bangle. Does that make more sense?
ReplyDeleteI love this tutorial, thanks very much, I will try!
ReplyDelete