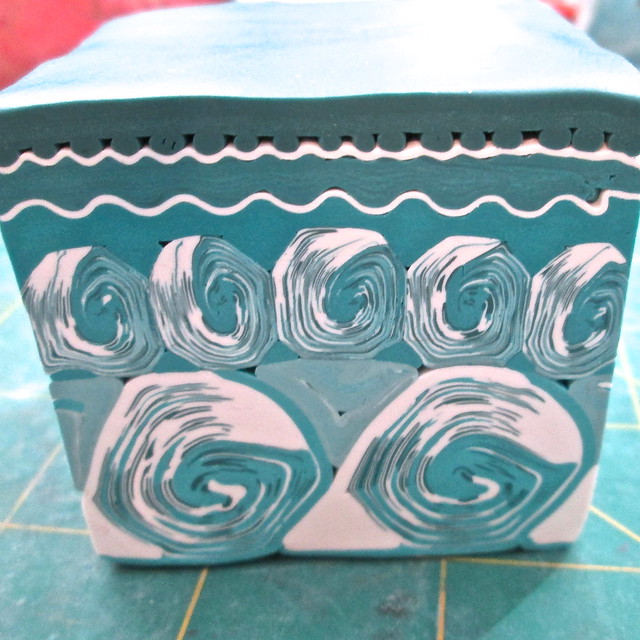
 Let's start at the very beginning. In the words of Rogers & Hammerstein - it's a very good place to start. =) I'm thinking of a tropical paradise and the one thing all tropical paradises have in common is water. Beautiful, teal blue water with waves splashing against the shore. And that's the starting inspiration for this cane.
 My last post was our foundation for what's to come and now that you know how to make your bangle canvas, it's time to create some canes to start our polymer clay painting! As with most canes, I start out sketching out the idea and then going through a trial run. Most of the time I am pretty successful the first go, but not always. I wasn't very happy with my first go at a water cane. Here it is - YUCK! Well, I guess it's not horrible, but it's not something easily teachable or reproducible.
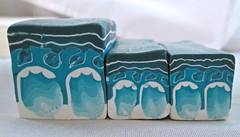
 So I refined it to have more detail in the waves themselves and to have more definition between the different layers of waves so they seem to fade toward a horizon. I did this by using a modified ikat cane for the base component of my waves. I first read about an ikat cane from Donna Kato. It is basically set up like a Skinner Blend, but not blended, modified and stacked to show all the variation within the layers. Here is the starting layout.
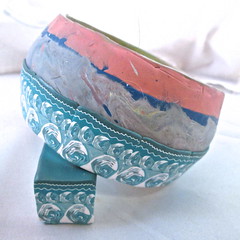
 We start out by making two of these blends - one larger for the bottom set of waves and the second smaller for the middle set. I stopped at two sets, but if you were doing a very large project you could continue stacking smaller and smaller wave sets by reducing the size with every later and adding more waves as you fade into the background. For my purposes, two layers of waves was the ideal amount! You can find the detailed tutorial available as of today on my ETSY shop HERE. It is slightly modified from the original photos to add corrections that I wanted to implement to refine the cane. And now to slice my cane and "paint" the water on my bangle form! In my next post we go fishing and then on to the sky and beach!!!

No comments:
Post a Comment